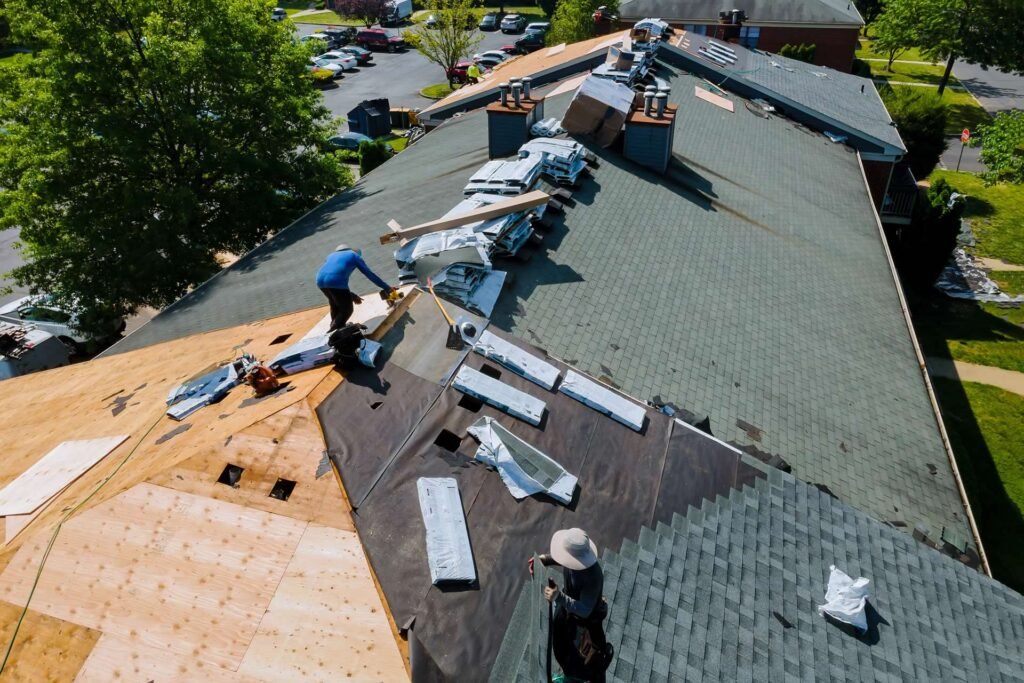
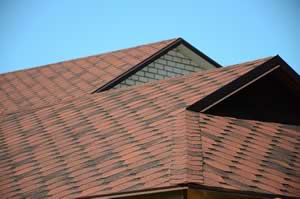
If you’re a homeowner or a prospective buyer thinking about economical, cost-effective, and efficient choices for the design and structure of your roof, it’s time to start thinking about shingling your roof. Shingles are notable for their simple installation process and their affordability, so for those homeowners looking for a familiar, tried and true design that won’t break the bank, shingles are a great option.
Shingles vary in color, texture, style, and look; they come in a variety of prices, and they require very little maintenance as your house ages, meaning that you won’t be spending too much in the moment or after the fact. For their durability, their water tightness, and so much more, shingles are an evergreen roofing product.
You might be wondering now:
How do I go about installing these shingles?
That’s where we’re here to help, with this handy guide on how to install shingles on your roof.
 Difficulty Level
First thing’s first: Shingling a roof can be a little complicated and definitely hazardous. If you’re planning to tackle the job yourself, you should make sure that you’re dealing with the correct equipment. You’ll want a harness and a line in order to attach yourself to a set of safety rails or a bolted ridge so that your risk of falling is mitigated.
There is a common misconception that shingles can be poisonous or can emit toxic fumes under the right circumstances. This is not grounded in fact; heated asphalt can produce symptoms including headaches and nausea, but these symptoms disappear quickly and could only occur if you are present at the time of the application of the hot asphalt to the roof.
Preparation
In order to properly shingle a roof, several preparatory steps must be taken in advance of the process. To protect yourself and to protect your eventual roofing against inclement weather, falling trees, and any other potential damage, all of these steps should be followed thoroughly and all options for shingling should be researched adequately. A professional roofer should also be consulted in the process to ensure that all avenues are explored and no corners have been cut.
First, an adequate number of shingles should be selected, in the desired color, style, texture, and feel. These can be purchased in packages, with 100 square feet typically covered by three standard packages. In order to assess how many shingles will be necessary for a roof, the length and width of the roof should be multiplied to get the area; the area of each individual section of the roof should be measured, added together, and then divided by 100 to know how many squares should be ordered.
Before installing the shingles, asphalt should be laid over the roof. Additionally, you should make sure to outline your intended shingle-laying plan in chalk so that you can have a reference to follow when laying down the shingles.
Lastly, decide whether you want to use pre-made starter shingles without tabs or cut starter shingles to your own personal design.
 Staggering
In order to properly stagger shingles in the laying process to achieve that classic design, make sure to cut your shingles in five varying lengths. For the bottom row (or “starter course”) of shingles, cut one half of the tab off. For each additional row up to the fourth course, cut off an additional half of a tab; this means a full tab for the second row, one and a half tabs for the third row, and two tabs for the fourth course. For the fifth row, only half a tab should be cut off, and for the sixth row, the tabs should be left as is.
This tab cutting will ensure a proper shingle layering to create that rippling effect you’ve come to associate with traditional shingled roofs.
Laying
Next, you’ll want to start laying down the rows. Use a hammer and nails to secure the shingles six inches from the lower edge; the nail should be hammered in two inches from the end of the shingle as well as one inch over the spot of the cut-off tab.
A full shingle should be secured to the side of the cut shingle, and this process should be repeated in a pattern on the roof, using the chalk guideline to keep in line with the desired pattern of shingles.
At the end of each row, the last shingle should be cut to a customized size depending on where the side end of the roof is. This should be done for every row up until the fifth.
 Ridging
The final step of a shingle installation on your roof will be the process of installing the sixth row. This row should be curved over the ridge of the roof and then nailed under the ridge so that the nails are covered. Then, the ridge should be fully covered using vented cap shingles.
From here, the ridge shingles should be installed on either side of the ridge. Finally, asphalt cement should be used to completely cover every ridge shingle as well as the nails. This will prevent any potential leakages and add to the durability and weather-proof resistance of your roofing, ideal for avoiding the worst after-effects of inclement weather.
In Conclusion
At the end of the day, shingles are a reliable material for roofing on any kind of house. There’s a reason that shingles have stood the test of time:
When it comes to durability, design, and affordability, shingles always take the cake.
We hope that this article has been helpful in cluing you into the process of performing a shingle installation on your roof. We recommend the assistance of a professional in the process of shingle installation, though, as the safety of the installation cannot be guaranteed without expert counsel and high-quality materials. We wish you the best of luck in your upcoming shingle installation!
Here at BEST PRO BUILDERS we offer a full range of professional construction services and solutions to fit virtually any need or budget. From full design/build services to installing that backyard patio and outdoor kitchen you’ve been dreaming of, you can trust our team to deliver.
No matter if you need construction, remodeling or some other home services, count on us to make your house a beautiful and real safe home!


 Difficulty Level
 Staggering
 Ridging